If you read this Zephyrus Fedora install post then you most like have questions
Why install Fedora Linux on an expensive Zephyrus gaming laptop? Well, there are many reasons and since a picture is more worth than a thousand words, I’ll say it with this one.
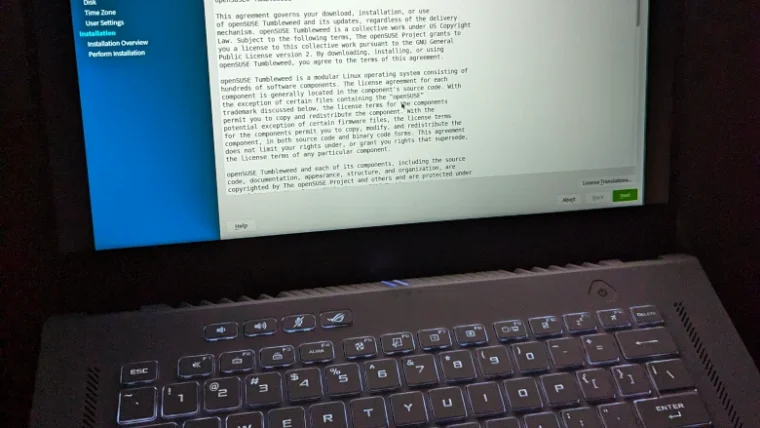
Step by step instructions for Zephyrus G15 owners
Here are my notes about installing Fedora 37 on an Zephyrus G15 laptop. Everyting here is based on the information found on asus-linux.org
After carefully reading their install guide, I wrote down only the relevant steps needed to get a perfect Fedora install. If you read my blog then you know that I have done this a few times in the past but today’s install went especially smooth. Without further ado, here are my notes.
- Disable Secure Boot and disconnect all external displays
While in the BIOS, disable Fastboot and Armory Crate as well - Install Fedora and reboot
- Open the Gnome termianl and issue this command:
sudo dnf copr enable lukenukem/asus-linux - Now update the system and reboot
Installing the NVIDIA Graphics Drivers
Open a Gnome Terminal and issue the following three commands:
sudo dnf update -y
sudo dnf install kernel-devel
sudo dnf install akmod-nvidia xorg-x11-drv-nvidia-cuda
When the last command has completed, continue with enabeling the Nvidia power services:
sudo systemctl enable nvidia-hibernate.service nvidia-suspend.service nvidia-resume.service
Edit System Boot Configuration
Pasting the next command will open the nano editor. If you are new to Linux then it would be best to watch a YouTube video on how to use this minimal editor but I will provide the commands necesarry to save the file. Here is the command: sudo nano /etc/default/grub

GRUB_TIMEOUT=5
GRUB_DISTRIBUTOR=”$(sed ‘s, release .*$,,g’ /etc/system-release)”
GRUB_DEFAULT=saved
GRUB_DISABLE_SUBMENU=true
GRUB_TERMINAL_OUTPUT=”console”
GRUB_CMDLINE_LINUX=“rd.driver.blacklist=nouveau modprobe.blacklist=nouveau nvidia-drm.modeset=1 rhgb quiet”
GRUB_DISABLE_RECOVERY=”true”
GRUB_ENABLE_BLSCFG=true
Use the arrow keys to place the cursor at the end of the very long line (see bold text above) and delete the double entries. If you need additional information then you can consult the install guide which has a bit more deail. When done, save the file by pressing Ctl + X followed by the Y and ENTER keys.
To make Linux see this edit, the grub boot loader needs to be rebuilt which is done with this commond: sudo grub2-mkconfig -o /etc/grub2.cfg“
Reboot
And now comes the magic part:
sudo dnf install asusctl supergfxctl
sudo dnf update –refresh
sudo systemctl enable supergfxd.service
sudo dnf install asusctl-rog-gui
Reboot
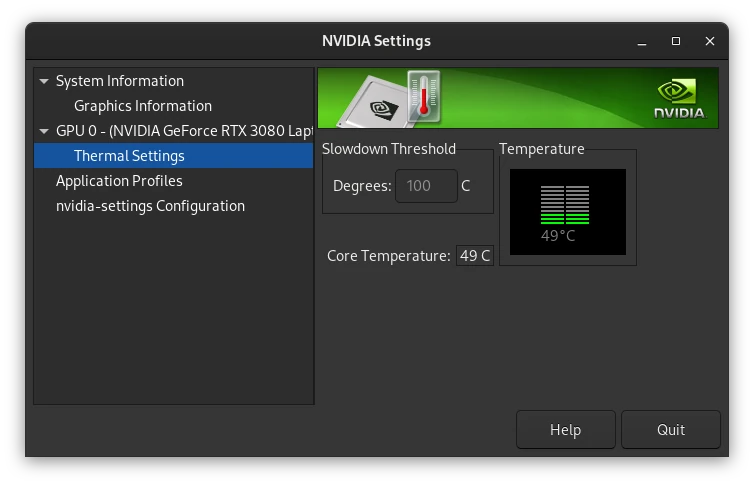
Say hello to a cooler running laptop
If everything went well then you have now a cooler running laptop and access to 1000’s of free opensource software titles.
Setting battery level without ASUS Control
On a new laptop, ASUS ships an app which takes care of updating the components as well as limiting the battery levels. Linux can do that too. To do so, upen the ROG Control Center app which got just installed. You’ll find it with all the other Gnome apps and once it has loaded, go to System Settings (default tab) and under BIOS options, move the slider. I have set mine to 80 % which gives enough power when I am out of the office for a few hours.
Next steps
Depending on what you want to do, the next steps would be tweaking the Gnome Settings, change the “beautiful” default wallpaper as well as the icons. My recomendation for icons is the stunning Kora icons set which comes in blue and gray plus several other colors. I use the blue ones for Fedora and the grey ones for openSUSE Tumbleweed.
For web development, I recommend to install a virtual machine that runs ether Fedora or openSUSE Tumbleweed. My choice is openSUSE Tumbleweed because it is the most friendly distribution to run the LAMP stack or XAMPP. Fedora makes the setup of virtual machines as easy as issuing this command in the terminal: sudo dnf install @virtualization
For more information about virtualization consult the official Fedora documentation page
YouTube has plenty of videos that cover virtual machines and next time I have a few minutes, I will make a detailed step-by-step post for you. The good news is that the AMD GPU can easily be passed trough which gives the VM a nice lag-free workflow.
In closing, I want to thank the developer(s) who made all of this possible. Again, the official website for the patches is asus-linux.org which has great instructions and an active discord channel where one can ask for help.
Altaugh they have instructions for openSUSE Tumbleweed, I advise to not yet install that as the main operating sytem and go with Fedora instead. Thanks to virtual machines, openSUSE of any other Linux distribution are easy to add. Thank you for reading. Please leave a commant if you have a question.